Image Processing Techniques
Exploring Image Transformations and Spatial Filtering
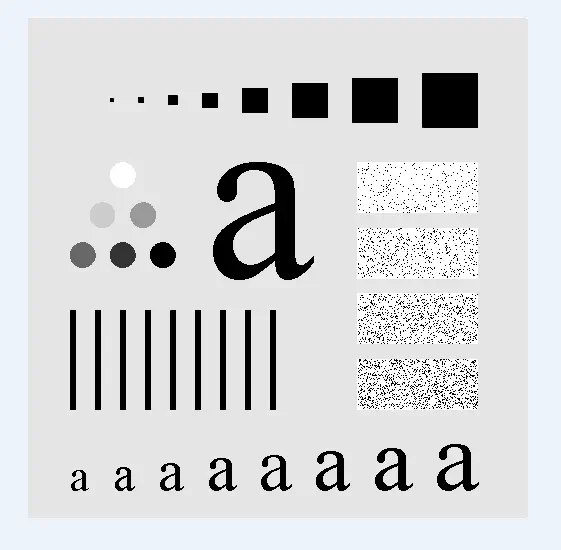 Program output
Image Processing Techniques in Python
Aim
The aim of this project is to implement various point processing and spatial domain filtering techniques on a given image and comprehend the results. The objectives include:
a. Point Processing Techniques: i. Write a program in Python to obtain the negative of an image. ii. Write a program in Python to perform thresholding on an image. iii. Write a program in Python to perform grey level slicing of an image without background. iv. Write a program in Python to perform grey level slicing of an image with background.
b. Spatial Domain Filtering: i. Implement blurring on the given image. ii. Comment on your choice of a particular filtering technique for the given image. iii. Analyze the effect of various mask sizes for the used filter and comprehend the findings.
Table of Contents
Software
This project is implemented using Python.
Prerequisite
To understand and work with this project, you should be familiar with the following concepts:
| Sr. No | Concepts |
|---|---|
| 1. | Point processing techniques for image enhancement |
| 2. | Neighborhood processing techniques for image enhancement |
Outcome
After successful completion of this experiment, students will be able to comprehend:
- The concept of image enhancement in the spatial domain using point processing and neighborhood processing methods.
- Can be found here.
Theory
Point Processing Techniques
Point processing operations are applied to individual pixel values in an image. The following techniques are implemented:
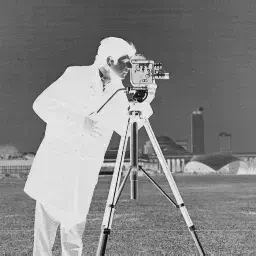
- Image Negative: Each pixel value is subtracted from the maximum pixel value (L-1) to obtain the negative of the image.
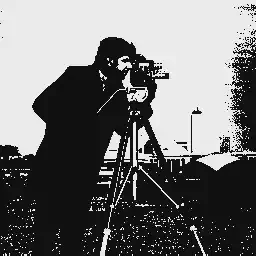
- Thresholding: Pixels with values above a specified threshold are set to the maximum pixel value (L-1), while pixels below the threshold are set to 0.
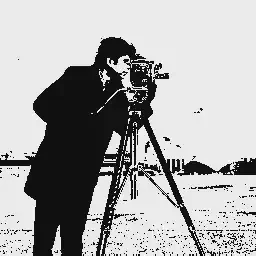
- Grey Level Slicing without Background: Pixels within a specific range (a to b) are set to the maximum pixel value (L-1), while all other pixels are set to 0.
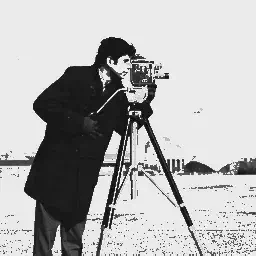
- Grey Level Slicing with Background: Pixels within a specific range (a to b) are set to the maximum pixel value (L-1), while other pixels retain their original values.
Spatial Domain Filtering
Spatial domain filtering involves modifying pixels by considering the values of their neighboring pixels. The following technique is implemented:
- Low Pass Filtering (Blurring): It removes high-frequency content from the image, resulting in a smoother image. A common mask used for low pass filtering is the averaging filter, which replaces each pixel value with the average of its surrounding pixels.
# import libraries
import pandas as pd
import numpy as np
import matplotlib.pyplot as plt
import cv2 # You can also use PIL as alternative.
from google.colab.patches import cv2_imshow
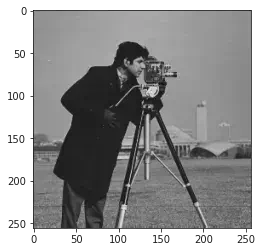
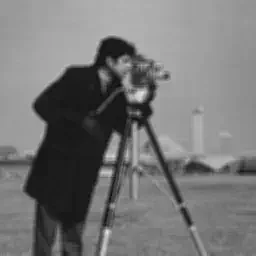
image = cv2.imread("/content/cameraman.png", 0)
plt.imshow(image, cmap="gray") # If we use cv2_imshow then we can just write cv2_imshow(image), for plt you need to explicitly mention cmap = "gray"
<matplotlib.image.AxesImage at 0x7f9857baec40>
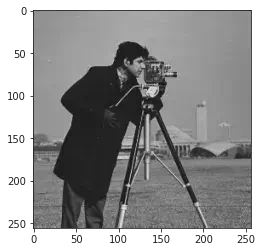
cv2_imshow(image)
Negative Image
new_image = 255 - image
cv2_imshow(new_image)
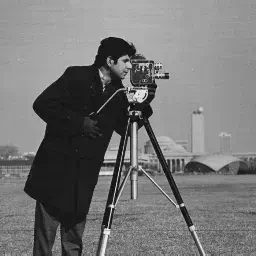
Gray Image
plt.imshow(image, cmap="gray") # If we use cv2_imshow then we can just write cv2_imshow(image), for plt you need to explicitly mention cmap = "gray"
<matplotlib.image.AxesImage at 0x7f9857b33100>
threshold = int(input("Enter the Threshold : "))
Enter the Threshold : 150
print(image)
image.shape
[[156 159 158 ... 151 152 152]
[160 154 157 ... 154 155 153]
[156 159 158 ... 151 152 152]
...
[114 132 123 ... 135 137 114]
[121 126 130 ... 133 130 113]
[121 126 130 ... 133 130 113]]
(256, 256)
# threshold_image = np.zeros((256, 256), dtype=int)
# for i in image:

#   for j in i:
#     threshold_image[i][j] = np.where(j > threshold, 250, 0)
threshold_image = []
for i in range(len(image)):
  temp = []
  for j in range(len(image)):
    if image[i][j] > threshold: # Threshold entered above is 150
      temp.append(255)
    else:
      temp.append(0)
  threshold_image.append(temp)

threshold_image = np.array(threshold_image)
cv2_imshow(threshold_image)
Thresholding without Background
threshold_image = []
a = int(input("Enter the Lower Limit : "))
b = int(input("Enter the Upper Limit : "))
for i in range(len(image)):
  temp = []
  for j in range(len(image)):
    if image[i][j] > a and image[i][j] < b:
      temp.append(255)
    else:
      temp.append(0)
  threshold_image.append(temp)

threshold_image = np.array(threshold_image)
cv2_imshow(threshold_image)
Enter the Lower Limit : 100
Enter the Upper Limit : 200
Thresholding with Background
threshold_image = []
a = int(input("Enter the Lower Limit : "))
b = int(input("Enter the Upper Limit : "))
for i in range(len(image)):
  temp = []
  for j in range(len(image)):
    if image[i][j] > a and image[i][j] < b:
      temp.append(255)
    else:
      temp.append(image[i][j])
  threshold_image.append(temp)

threshold_image = np.array(threshold_image)
cv2_imshow(threshold_image)
Enter the Lower Limit : 100
Enter the Upper Limit : 200
Blurring the Image
blured_image = cv2.blur(image, (5, 5))
cv2_imshow(blured_image)
Neighborhood processing in spatial domain:
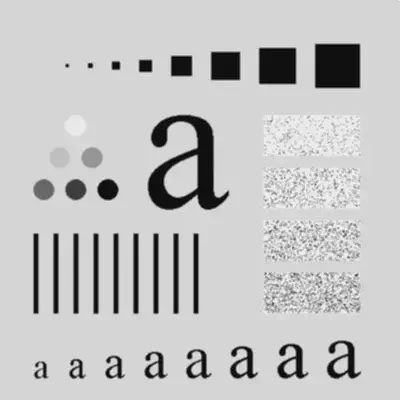
Here we consider the following image for Spatial Filtering:
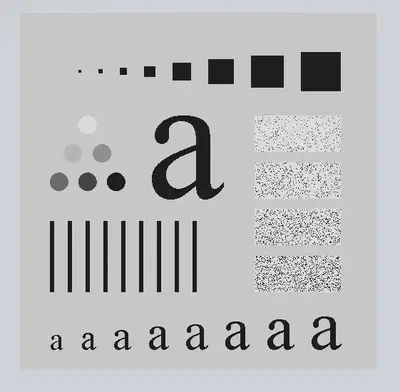
img = cv2.imread("/content/Fig0333(a)(test_pattern_blurring_orig).tif", 0)
m, n = img.shape
# Creating the 3x3 mask which will be applied to the above image (a portion of the image).
mask = np.ones([3, 3], dtype = int)
mask = 1/9 * mask
mask
array([[0.11111111, 0.11111111, 0.11111111],
[0.11111111, 0.11111111, 0.11111111],
[0.11111111, 0.11111111, 0.11111111]])
Averaging/Low Pass Filtering using the Formula:
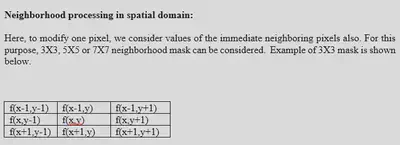
# Averaging/Low Pass Filtering using the Formula:
img_new = img.copy()
for i in range(1, m - 1):
  for j in range(1, n - 1):

    temp = img[i - 1, j - 1] * mask[0, 0] + img[i - 1, j] * mask[0, 1] + img[i - 1, j + 1] * mask[0, 2] + \
    img[i, j - 1] * mask[1, 0] + img[i, j] * mask[1, 1] + img[i, j + 1] * mask[1, 2] + \
    img[i + 1, j - 1] * mask[2, 0] + img[i + 1, j] * mask[2, 1] + img[i + 1, j + 1] * mask[2, 2]

    img_new[i, j] = temp

    # Using List comprehension:
    # temp = [img[i - 1, j - 1] * mask[0, 0] + img[i - 1, j] * mask[0, 1] + img[i - 1, j + 1] * mask[0, 2] + \
    # img[i, j - 1] * mask[1, 0] + img[i, j] * mask[1, 1] + img[i, j + 1] * mask[1, 2] + \
    # img[i + 1, j - 1] * mask[2, 0] + img[i + 1, j] * mask[2, 1] + img[i + 1, j + 1] * mask[2, 2] for i in range(1, m - 1) for j in range(1, n - 1)]


cv2.imwrite('Blurred.png', img_new) # Storing the file in colab in PNG format.
True
cv2_imshow(img_new) # We notice the original image has been blurred after applying LPF.
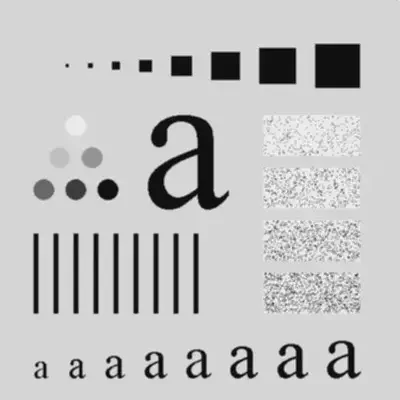
Averaging/Low Pass Filtering without using the Formula:
We used a 3x3 mask in the previous step and wrote the explicitly iterated
- We used a 3x3 mask in the previous step and wrote the explicitly iterated through pixel values in the image and multiplied them with mask values which proved to be tedious while coding (9 mulitplication expressions).
- While using masks of greater size (5x5, 7x7, etc.), this would prove to be more difficult while also being an inefficient way of programming and evaluating.
- Hence we use given method:
# Averaging/Low Pass Filtering without using the Formula:
size_of_mask = int(input("Enter the size of the Mask : "))
img_new = img.copy()
m, n = img.shape
print("You have requested for ", size_of_mask ,"x", size_of_mask)
a = size_of_mask//2

for i in range(a, m - a):
  for j in range(a, n - a):
    temp = np.sum(img[i - a:i + a + 1, j - a:j + a + 1])
    img_new[i, j] = temp//size_of_mask**2
Enter the size of the Mask : 3
You have requested for 3 x 3
cv2_imshow(img_new)
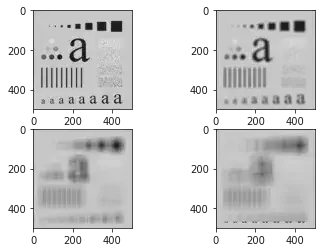
# For different sizes of masks provided from user:
for x in range(1, 5):
  # Averaging/Low Pass Filtering without using the Formula:
  size_of_mask = int(input("Enter the size of the Mask : "))
  img_new = img.copy()
  m, n = img.shape
  print("You have requested for Mask of Size :  ", size_of_mask ,"x", size_of_mask)
  a = size_of_mask//2

  for i in range(a, m - a):
    for j in range(a, n - a):
      temp = np.sum(img[i - a:i + a + 1, j - a:j + a + 1])
      img_new[i, j] = temp//size_of_mask**2
  plt.subplot(2, 2, x)
  plt.imshow(img_new, cmap = "gray")
Enter the size of the Mask : 3
You have requested for Mask of Size : 3 x 3
Enter the size of the Mask : 15
You have requested for Mask of Size : 15 x 15
Enter the size of the Mask : 45
You have requested for Mask of Size : 45 x 45
Enter the size of the Mask : 65
You have requested for Mask of Size : 65 x 65
Median Filtering
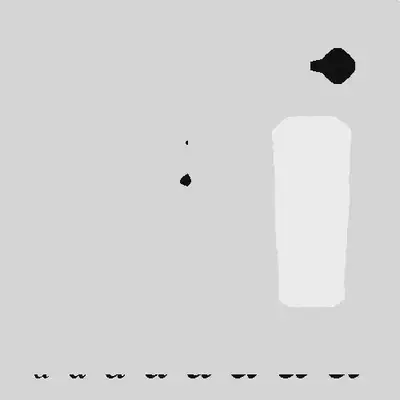
# Median Filtering

# Averaging/Low Pass Filtering without using the Formula:

img_new = img.copy()
m, n = img.shape

for i in range(a, m - a):
  for j in range(a, n - a):
    temp = img[i - a:i + a + 1, j - a:j + a + 1]
    img_new[i, j] = np.median(temp)

cv2_imshow(img_new)
Gaussian Noise
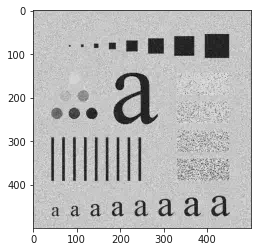
from skimage.util import random_noise
gn_img = cv2.imread("/content/Fig0333(a)(test_pattern_blurring_orig).tif", 0)
noise_img = random_noise(img, mode='gaussian', seed = None, clip = True)
plt.imshow(noise_img, cmap = "gray")
<matplotlib.image.AxesImage at 0x7fb8358b90a0>
# For different sizes of masks provided from user:
for x in range(1, 5):
  # Averaging/Low Pass Filtering without using the Formula:
  size_of_mask = int(input("Enter the size of the Mask : "))
  img_new = gn_img.copy()
  m, n = img.shape
  print("You have requested for Mask of Size :  ", size_of_mask ,"x", size_of_mask)
  a = size_of_mask//2

  for i in range(a, m - a):
    for j in range(a, n - a):
      temp = np.sum(gn_img[i - a:i + a + 1, j - a:j + a + 1])
      img_new[i, j] = temp//size_of_mask**2
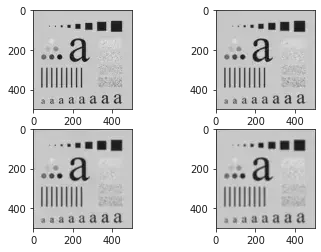
  plt.subplot(2, 2, x)
  plt.imshow(img_new, cmap = "gray")
Enter the size of the Mask : 3
You have requested for Mask of Size : 3 x 3
Enter the size of the Mask : 5
You have requested for Mask of Size : 5 x 5
Enter the size of the Mask : 7
You have requested for Mask of Size : 7 x 7
Enter the size of the Mask : 9
You have requested for Mask of Size : 9 x 9
Conclusion:
From the experiment performed above, I learnt the following:
- Concept of image enhancement in spatial domain using point processing and neighbourhood processing methods
- Performing various operations using given images (obtaining negatives of images, gray level slicing with and without background, etc.)